Hole Navigation
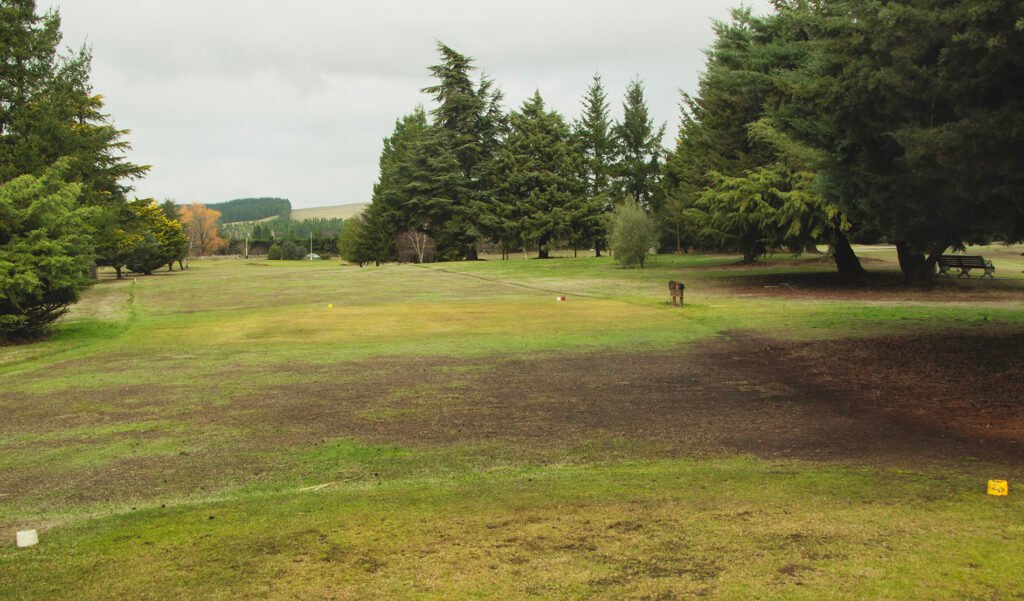
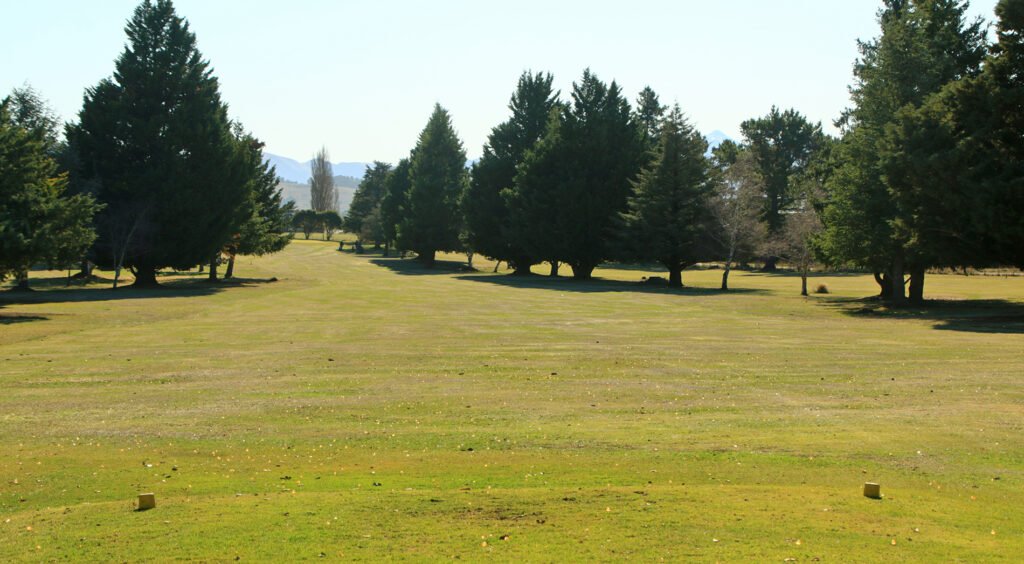
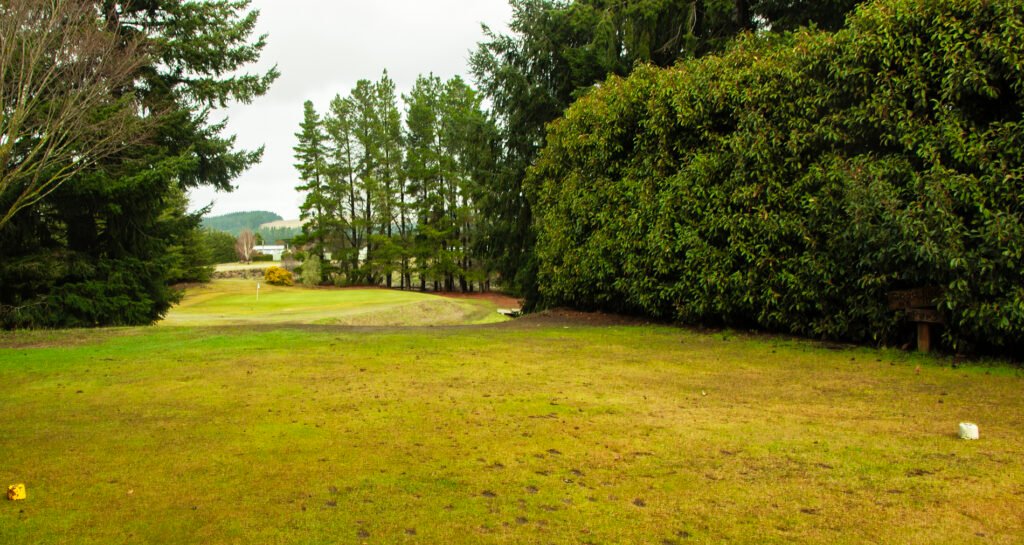
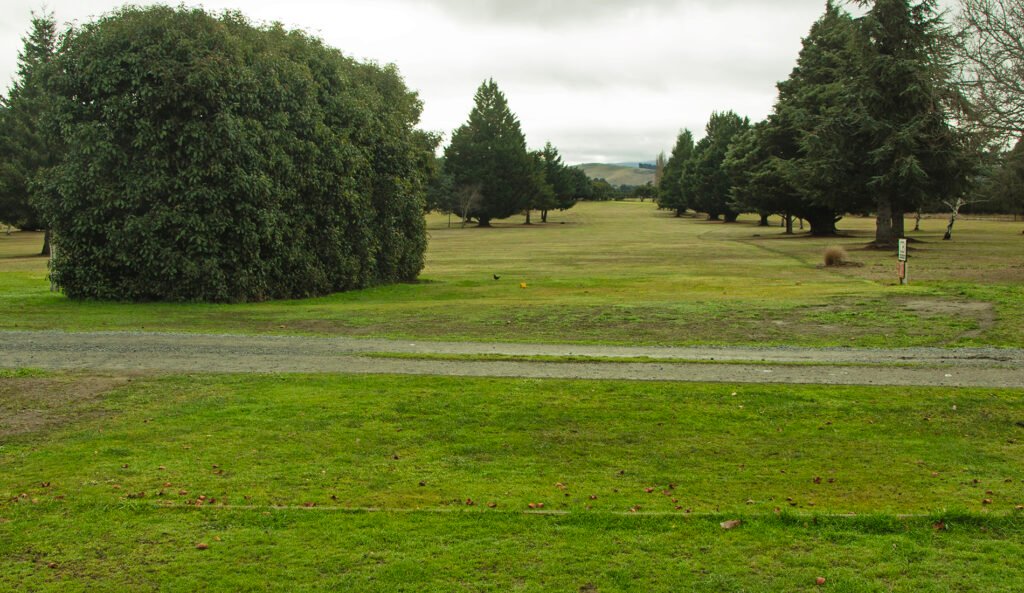
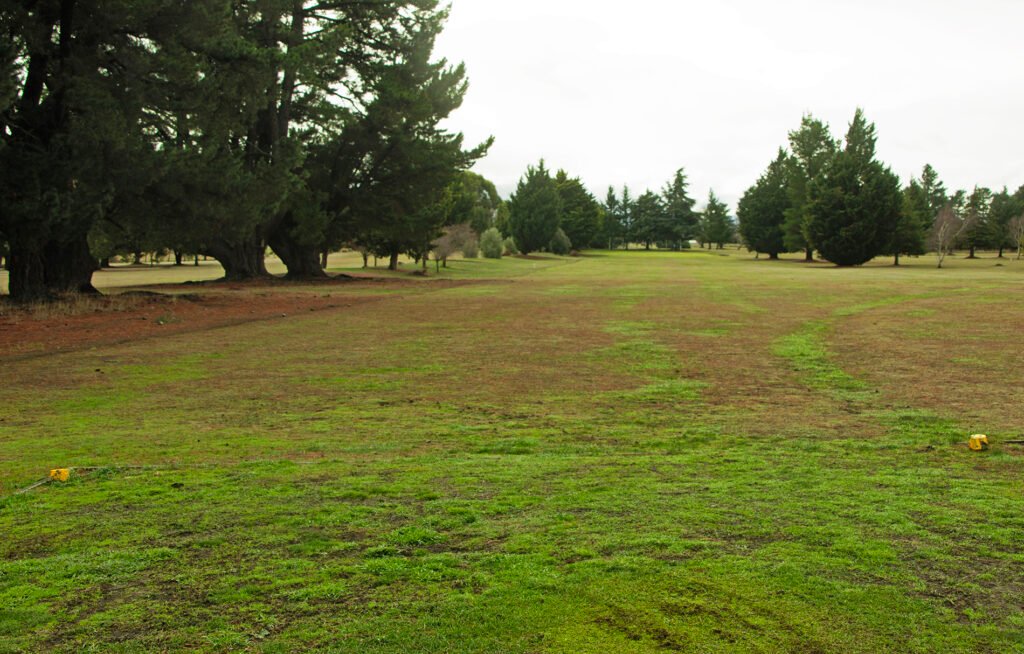
No.1 Tekoa
Par 5: White 455m, Yellow 423
A long par 5 with a slight dogleg to the left for your second shot and a returning right dogleg to the green. Best played by staying to the left side of the fairway, particularly on your second shot as the fairway slopes down to the right. The hole has out-of-bounds possibilities when the green is overshot so care is required with the approach.
Yellow Tee across the drive

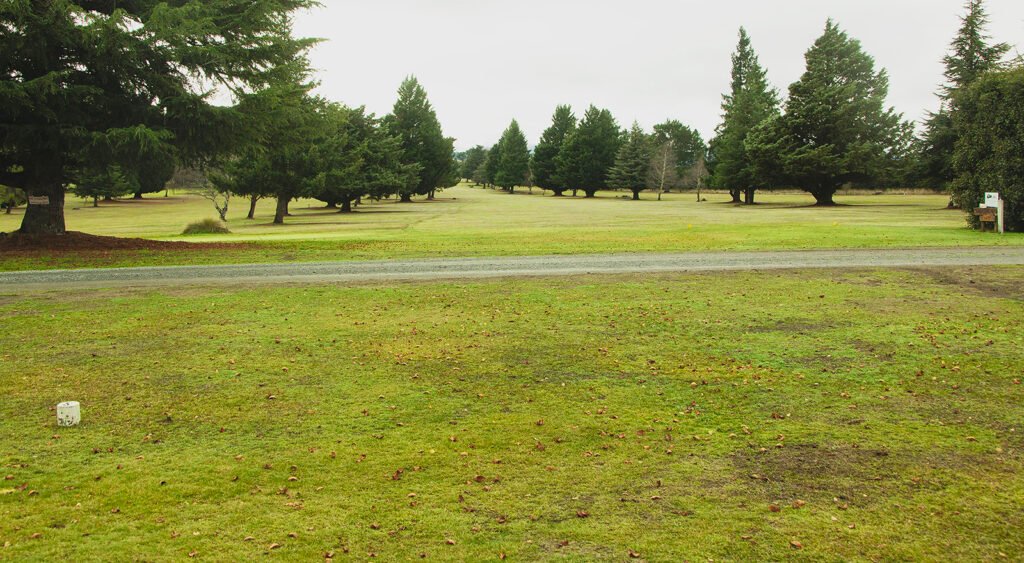
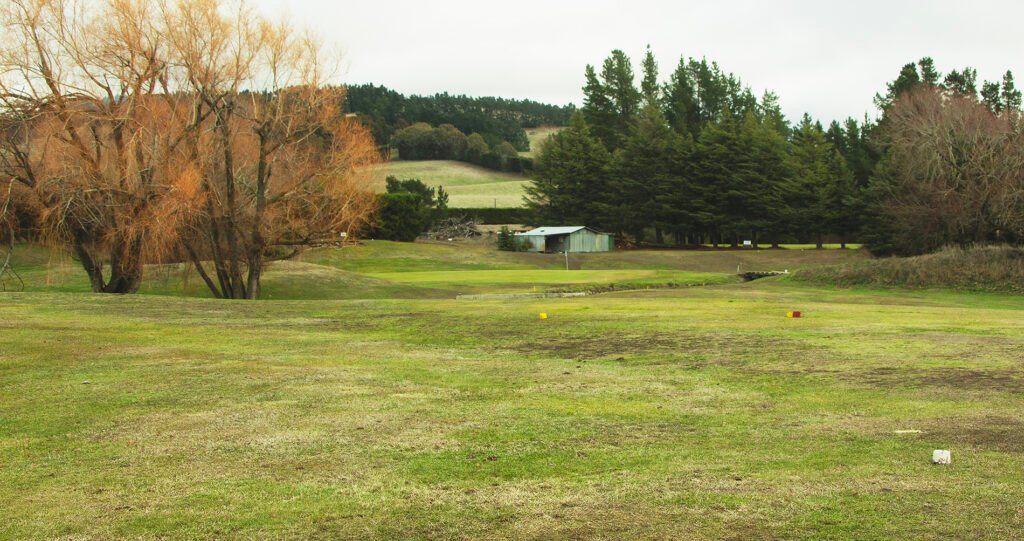
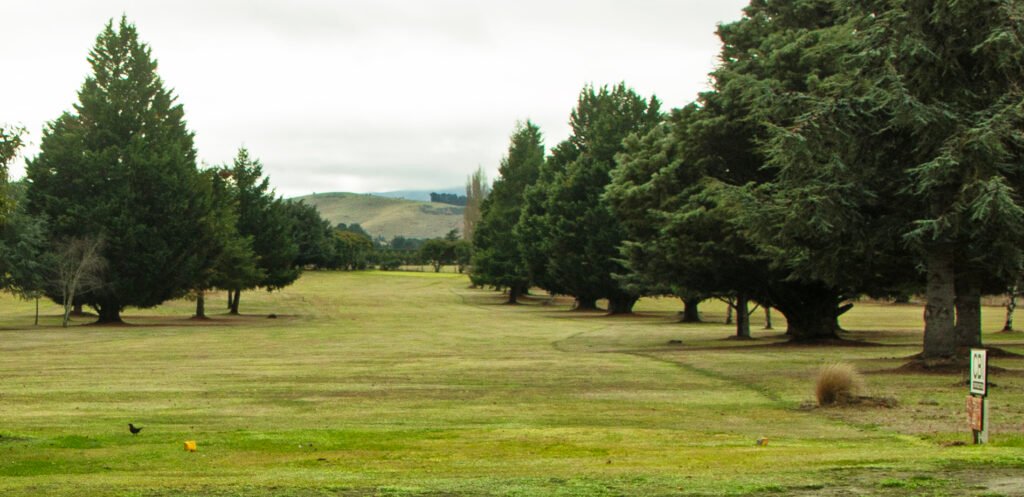
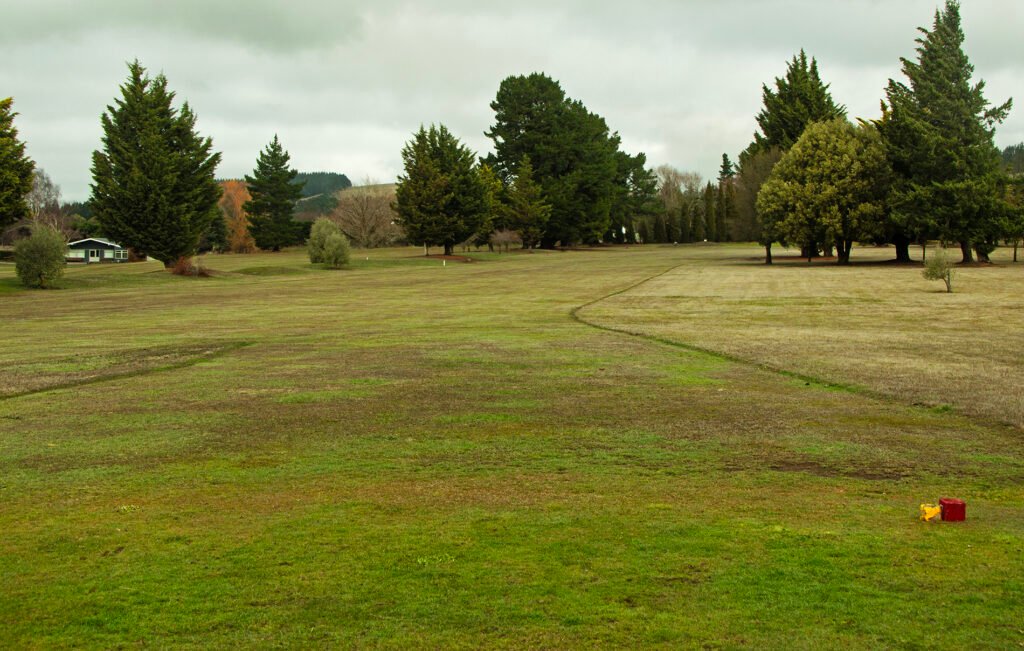
No.2 Roadside
Par 4: White 346, Yellow 346
Teeing off from the left-hand side of No.1 fairway brings into play the hazard of striking the Rum Tree, so avoiding the tree makes striking the trees on the other side of the fairway a distinct possibility.


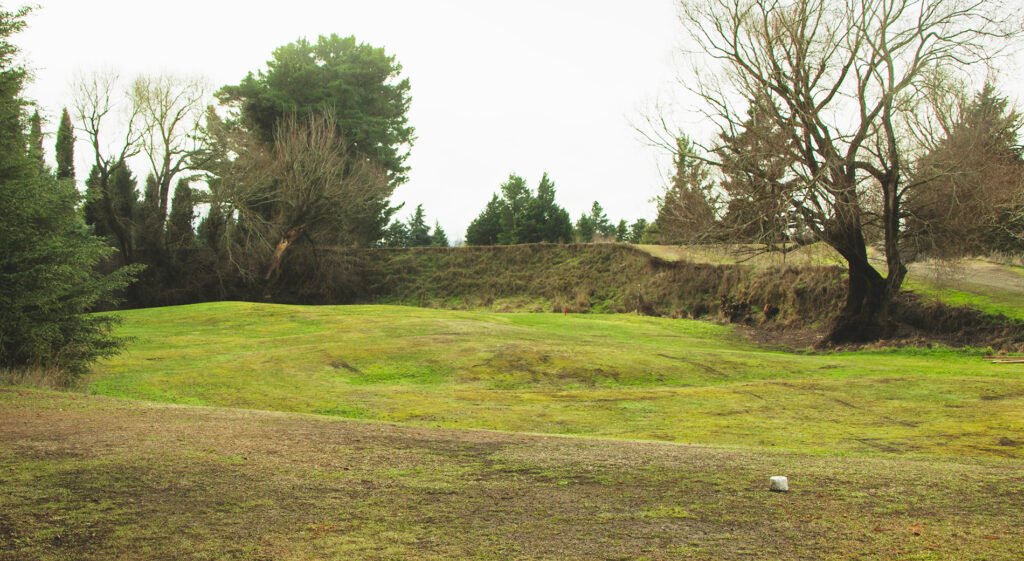
No.3 The Creek
Par 3: White 146, Yellow 115
| A long par 3 straight away to the green from the right hand tee and a little longer with willow trees providing interference from the left tee. Best played by playing to the centre of the green. The creek limits good landing areas to the right of the green. A embankment and swale behind the green provides some protection for longer shots but usually with poor lies. The area to the left of the green is not visible from the tee and provides little or no refuge for successful shots from this area |
Yellow Tee on the Terrace

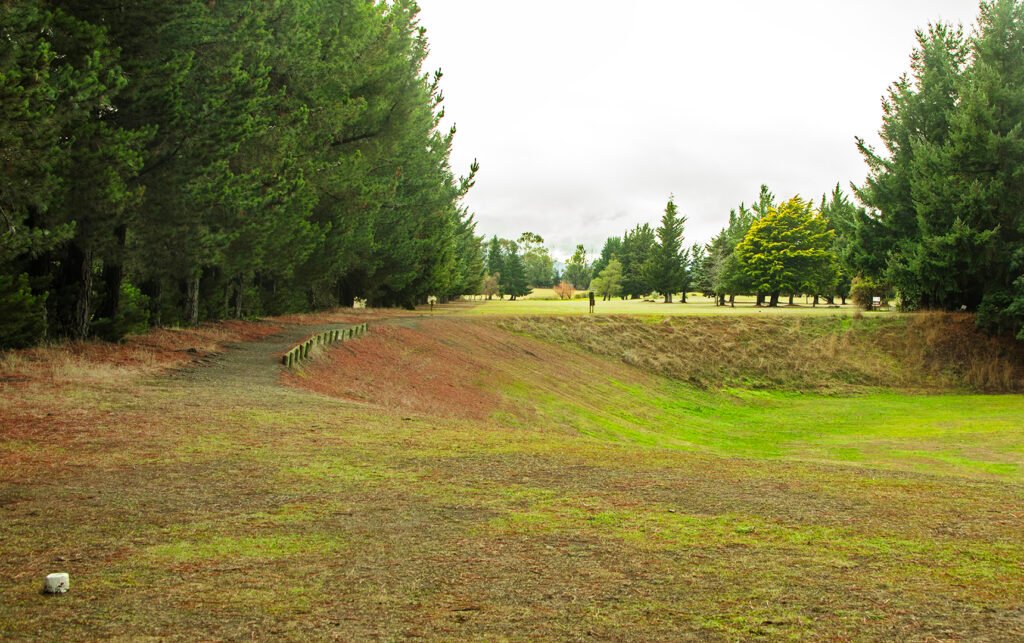
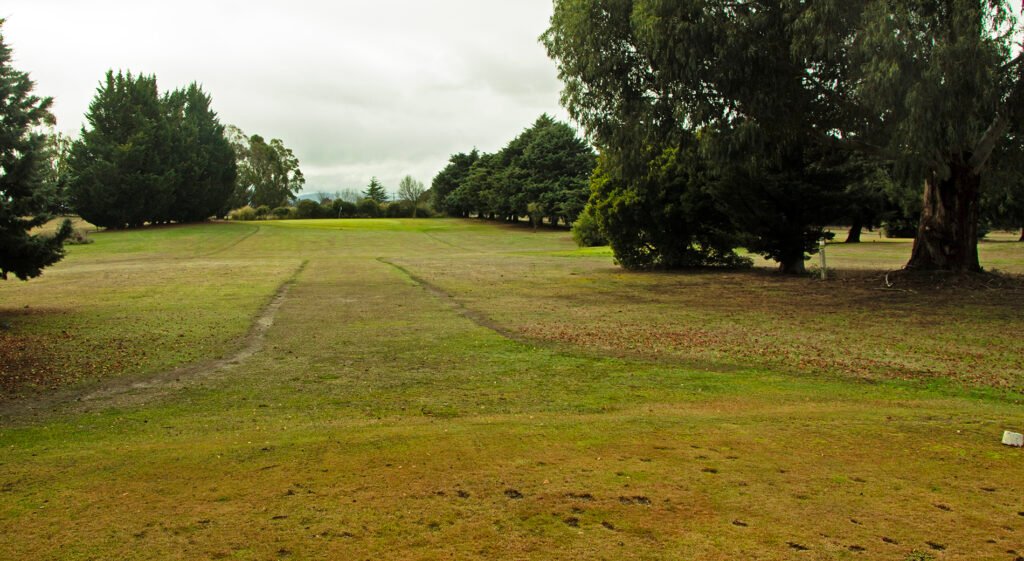
No.4 Waterloo
Par 4: White 351, Yellow 258
From the left tee you will need to clear the hill above the creek. A fade to the left is preferred as the fairway is a slight dogleg left after clearing the hill.
Ideally shots to the green should land to the left of the pin as there is a downhill slope to the right which can influence the ball to roll into the bunker, especially if the ball lands on the right of the green.

Yellow Tee on the Terrace
Tee off on the terrace which enables a straight run to the green without the perils of the elevation required to get up onto the fairway

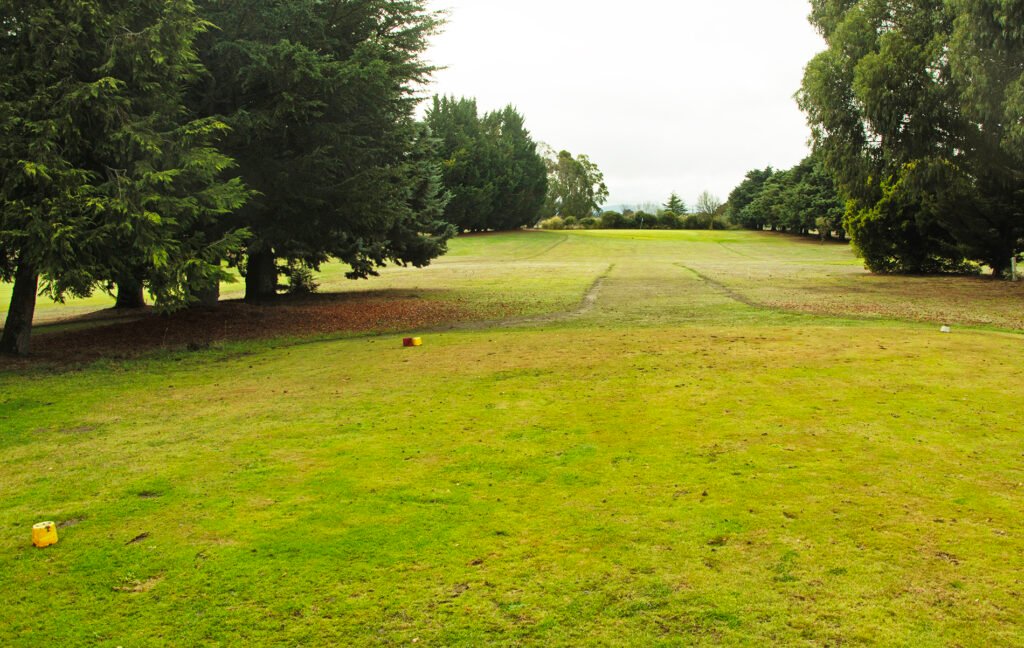
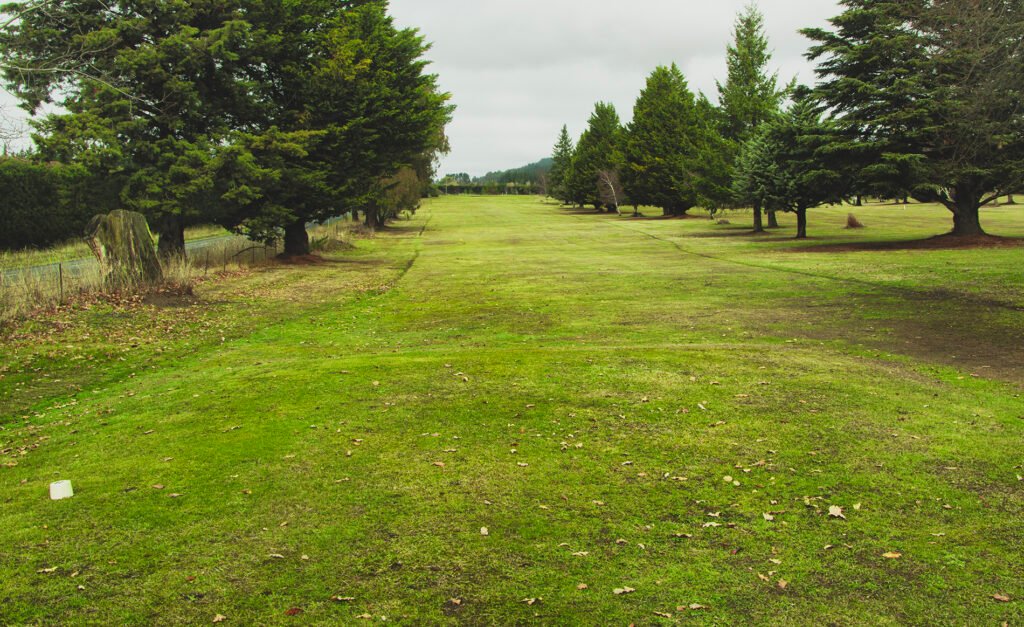
No.5 The Pines
Par 4: White 322, Yellow 322
The green is nestled in amongst trees on the right side of the fairway. A shot to the left hand side of the fairway will give you an excellent chance to reach the green in two with full visibility of any pin location. The trick is to avoid the large gum on the left (Gin Tree) which for club members will earn a shot of gin for each of their playing partners if they hit any part of it. The Green is encircled by a mound except for the front which can aid shots staying on the green or alternatively be an obstacle for a less accurate approach.


No.6 Good Luck
Par 3: White 115, Yellow 115
A short par 3 from an elevated tee to a large green. Try to avoid going long or left. The creek can be a significant hazard if drawn in, with a decent lift required from there to the green.

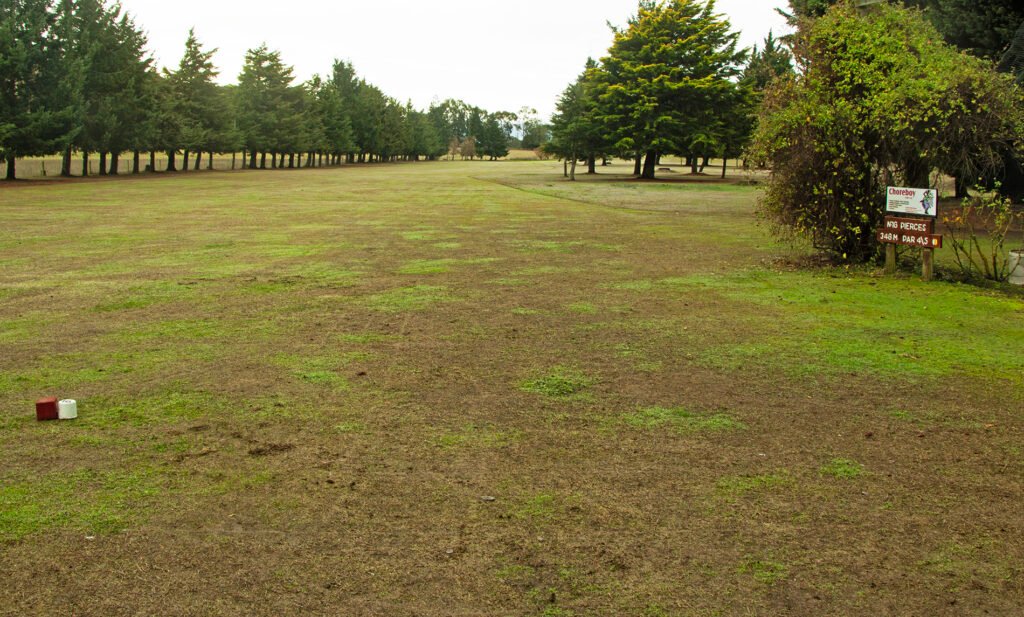
No.7 Pierces
Par 5: White 466, Yellow 372
A long hole with a dogleg to the right from about 90m out. Staying to the left side of the fairway will give you better opportunities to reach the green. Too far to the left however will have you courting out-of-bounds and playing roulette with the trees, while to the right may require lofted shots over trees to the green. The green is large and fairly flat dropping quickly off the back.
No.8 Brooksdale
Par 3: White 160, Yellow 160
A long par 3 to a large green sloping down to the right. Aim for the higher third of the green for a chance at a birdie. Shots landing before the green will require a good chip to be elevated accurately to the pin with a possible deviation to the right or backward if short.

No.9 Clubhouse
Par 4: White 286, Yellow 286
This last hole is bunkered on both sides of the large green. Your drive is best placed in the middle of the fairway to take away the bunkers for your second shot to the green. Check the pin placement before going out as the green is quite large and may affect your club selection for your approach shot.

No.10 Tekoa
Par 5: White 455, Yellow 423
The right tee of No.1 straightens the first dogleg somewhat but the hedge on the left and the trees on the right dictate an accurate drive from the tee.

Yellow Tee block

No.11 Roadside
Par 5: White 422, Yellow 422
A par 5 straight to the green. Best played by staying to the centre of the fairway. Greater risk with greater reward playing to the side of the fairway opposite the flag position for your approach shot to the green but you may end up amongst the trees lining both sides of the fairway.

No.12 The Creek
Par 3: White 156, Yellow 123
Longer with willow trees providing interference from this tee along with limitations of view to the left of the green.


Yellow Tee at Terrace lip


No.13 Waterloo
Par 4: White 369, Yellow 253
From the 13th tee you will need to hit across the 3rd green and above Greenkeepers Lane through the slot between the trees for a straight second shot to the green.


Yellow Tee on the Terrace
No. 14 The Pines
Par 4: White 255, Yellow 255

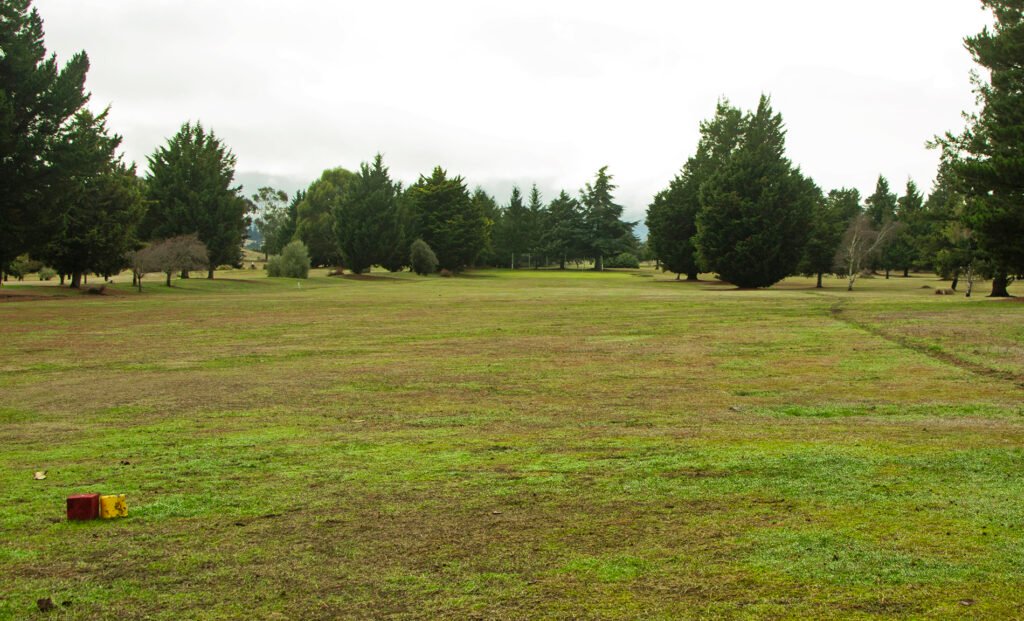
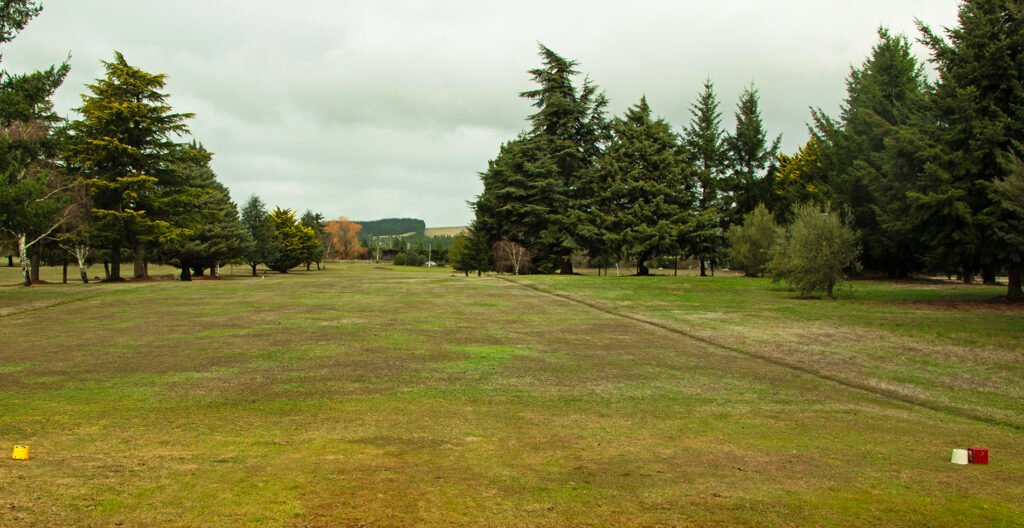
No.15 Good Luck
Par 3: White 100, Yellow 100
A little shorter requiring more loft with the fruit trees in the foreground and creek becoming more of a hazard.


No.16 Pierces
Par 4: White 348, Yellow 348

No17. Brooksdale
Par 3: White 145, Yellow 145
A shorter par 3 to a large green sloping down to the right. Aim for the higher third of the green for a chance at a birdie.
No.18 Clubhouse
Par 4: White 317, Yellow 317
A longer par 4 with the trees behind No. 4 becoming more of a hazard with the narrower angle requiring greater accuracy.